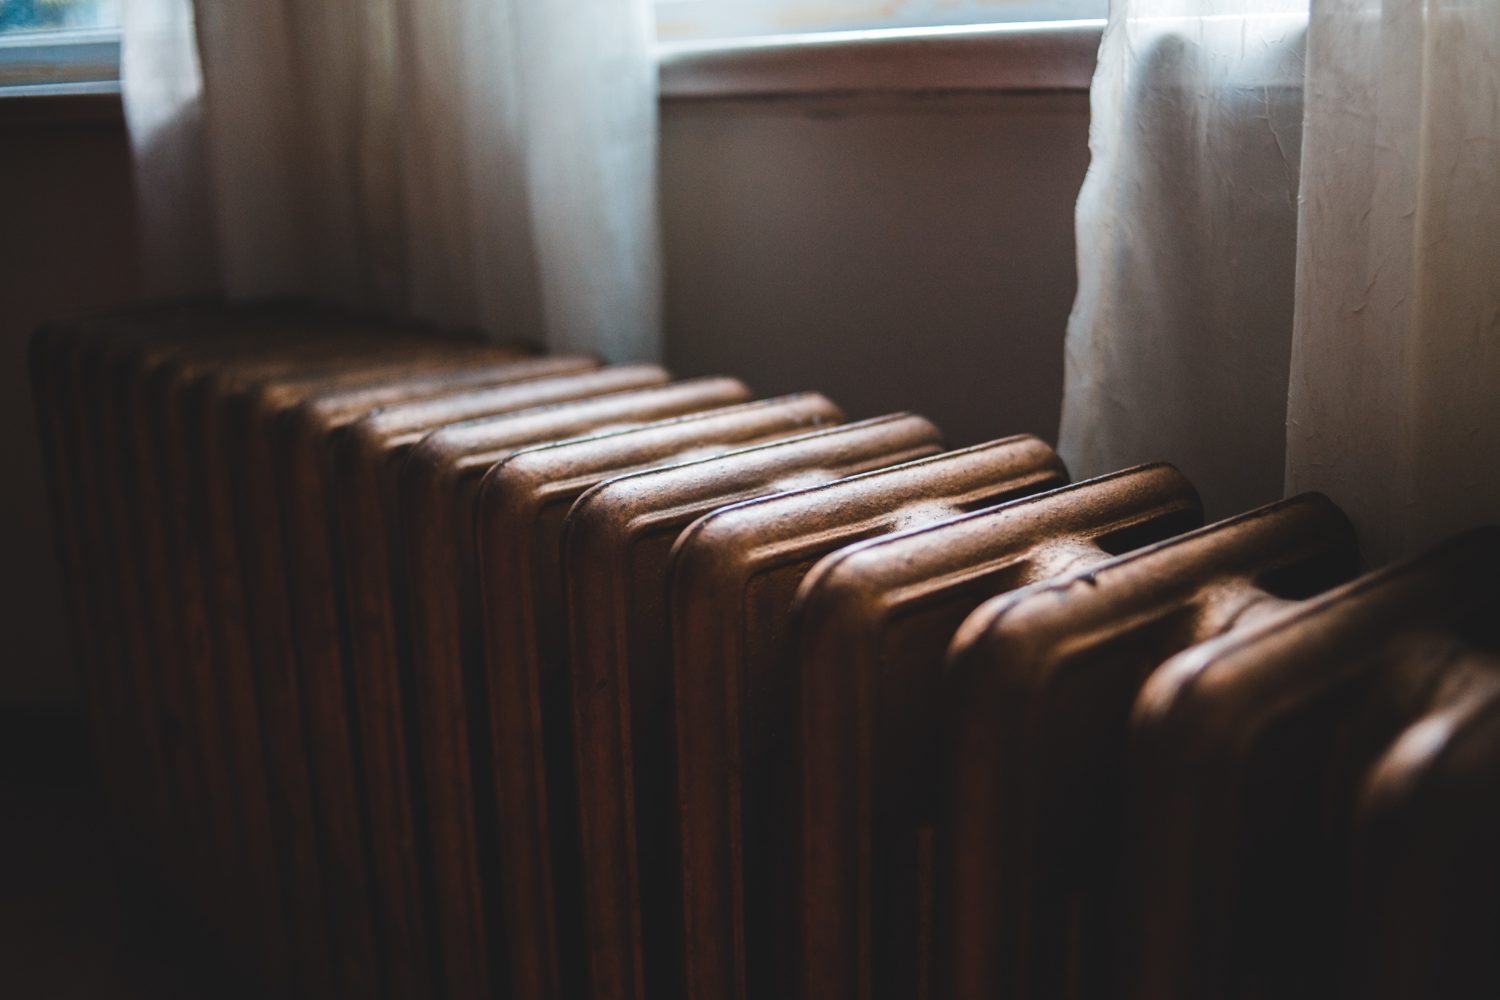
Radiators are essential in our homes, but sometimes you may need to move or replace them with a newer model. You might have never replaced the old plain white one, so it could be time to upgrade to brand new cast iron column radiators instead. However, you might think that you need to rely on a plumber to come and do the job for you, but this isn’t always the case. If you want to replace your radiator yourself, keep reading and discover our pro tips so you can do it with ease.
Measure, Measure, And Measure Again
The first mistake people make when replacing their radiator themselves, is not measuring everything up correctly. Make sure you measure your old radiator and the new one to compare the size. If there’s a vast difference between them in size, you might need to enlist a professional instead of attempting it on your own. You also want to measure the walls and the size of the radiator in comparison. If you’re confident you can replace it with a larger one on your own, you need to be certain that it will fit the room before starting the process.
Make It A Social Occasion
If you’re not hiring a professional, it can be a good idea to ask a friend to help you. Radiators can be heavy, so you don’t want to damage them during the process or hurt yourself.
Decorate Before
If you’re renovating a room and replacing the radiators is part of it, try to get most of the decorating done beforehand. If the radiator has never been replaced, there might be old or no paint behind it, so you might have to remove and replace it two different times. You could remove the radiator one day, paint the space the next, and then on the following day fit the new one.
Isolate Your Radiator
Once you’re ready to start replacing your radiator, you have to isolate it from your central heating and water supply. You also want to ensure that the radiator is cold before you start this process too. Typically, if you want to isolate a radiator, you have to close the lockshield valve and the thermostatic/manual valve at either end. A top tip is to make a note of the position the valves were in before closing them so that you can set your new radiator back up to match the previous one.
Don’t Forget To Drain
Unless you want to flood the room with dirty water, make sure you drain the radiator before removing it. Have a bowl and towel to hand so that you can catch the water before it hits the ground. Firstly, you’ll need to loosen the nut on the connector pipe but be aware that not all the water will come out right away. In order to completely drain the radiator, you’ll need to bleed it with a radiator key at both ends. Don’t rush this part either. Be patient and let the water completely drain before removing the radiator.
Replace The Wall Brackets
You might think that your new radiator will simply fit into the old spot, but this isn’t always the case. Make sure that the new radiator will fit the old brackets, otherwise, you’ll be left trying to force it to fit, and could cause damage to the wall and appliance. If the new radiator isn’t right for the old brackets, don’t hesitate in replacing them so you can securely fit it to the wall.
Bleeding Other Radiators
Sometimes when you remove or replace a radiator, it can cause air to become trapped in your pipework. Some experts suggest bleeding all the radiators in your home in order to release it and stop any problems further down the line.
Replacing a radiator can be done without a professional, but only if you’re confident in your ability to do so. Sometimes it’s best to call in the plumbers just so you can be certain that it’s done correctly. However, if you have the knowledge, try taking on these tips above and you’ll soon have your brand new radiator fitted in place.


