Most people jump straight to the polish. You pick a color, shake the bottle, and start painting. A few days later, it is chipping at the edges and looking tired. Sound familiar? The truth is, a great manicure does not start with the color you choose. It starts with everything you do before that bottle even opens. This guide walks you through each step so your next manicure actually lasts.
Why Nail Preparation Changes Everything
If your polish never seems to stick around for long, preparation is almost always the reason. Nails that are oily, uneven, or carrying old product residue simply do not hold polish well. The polish has nothing solid to grip onto, so it lifts and chips much faster than it should.
The Link Between Prep and Longevity
Think of nail prep the way you would think about priming a wall before painting it. Skip that step and the paint peels. Do it properly and the finish lasts. Clean, smooth, and dry nails give your polish the best possible surface to bond with, which means fewer touch-ups and a more professional-looking result overall.
Mistakes That Ruin a Manicure Before It Starts
The most common mistakes happen right at the beginning. Painting over lotion or cuticle oil is a big one because both create a slippery barrier that stops polish from adhering properly. Skipping the filing step is another issue. Uneven edges cause the polish to catch and lift sooner. Taking five extra minutes at the start genuinely saves you days of wear on the other end.
How to Get Your Nails Ready the Right Way
Before any product touches your nail, the surface needs to be clean and properly shaped. This does not need to be complicated, but the order in which you do things matters.
Cleaning and Drying Your Nails Properly
Start by removing any old polish completely using an acetone-free remover if your nails are on the sensitive or dry side. Wash your hands thoroughly and let your nails dry completely. Even a small amount of moisture left on the nail plate can cause lifting later. If you want to be thorough, swipe each nail with a little rubbing alcohol or a dry cotton pad. It takes seconds and makes a real difference.
Shaping and Filing for an Even Surface
File your nails in one direction rather than sawing back and forth. The back-and-forth motion creates micro-tears along the nail edge, which weakens the nail over time and gives polish an uneven edge to sit on. Whether you prefer square, oval, or rounded nails, consistency in shape helps the polish apply more smoothly and look more polished overall.
Caring for Your Cuticles Before You Paint
Cuticles do not need to be cut, but they do need to be managed. Use a wooden cuticle pusher after a warm shower when the skin is soft. Gently push the cuticle back toward the base of the nail. This gives you a cleaner nail surface and a neater finish once the polish goes on. If you prefer keeping things simple and low effort, this minimalist nail care approach covers exactly how to maintain great-looking nails without overcomplicating your routine.
The Product That Does More Work Than You Realise
Here is where most people either save their manicure or quietly ruin it. The base coat step is skipped more often than any other, usually because it feels like an extra thing to do. But it is arguably the most important layer you apply.
What a Base Coat Actually Does
A base coat creates a bonding layer between your bare nail and the polish. Without it, pigments from darker shades can stain the nail plate, polish slides around rather than gripping, and your manicure is far more likely to chip within the first couple of days. A good base coat also smooths out minor ridges and uneven texture so the color goes on evenly.
Matching the Right Formula to Your Nail Concern
Not all base coats do the same thing. Some are designed to harden and strengthen nails that are prone to breaking. Others focus on filling in ridges for a smoother application. Some create an extra-strong grip so the polish stays put for longer. If your nails tend to peel or feel weak, look for a strengthening formula. If they are generally healthy but you want the color to last, a grip-focused base coat is the better choice.
For a well-rounded range that covers different nail concerns, LONDONTOWN nail base coats offer targeted options for strengthening, smoothing, and extending wear, making it easier to match the product to what your nails actually need.
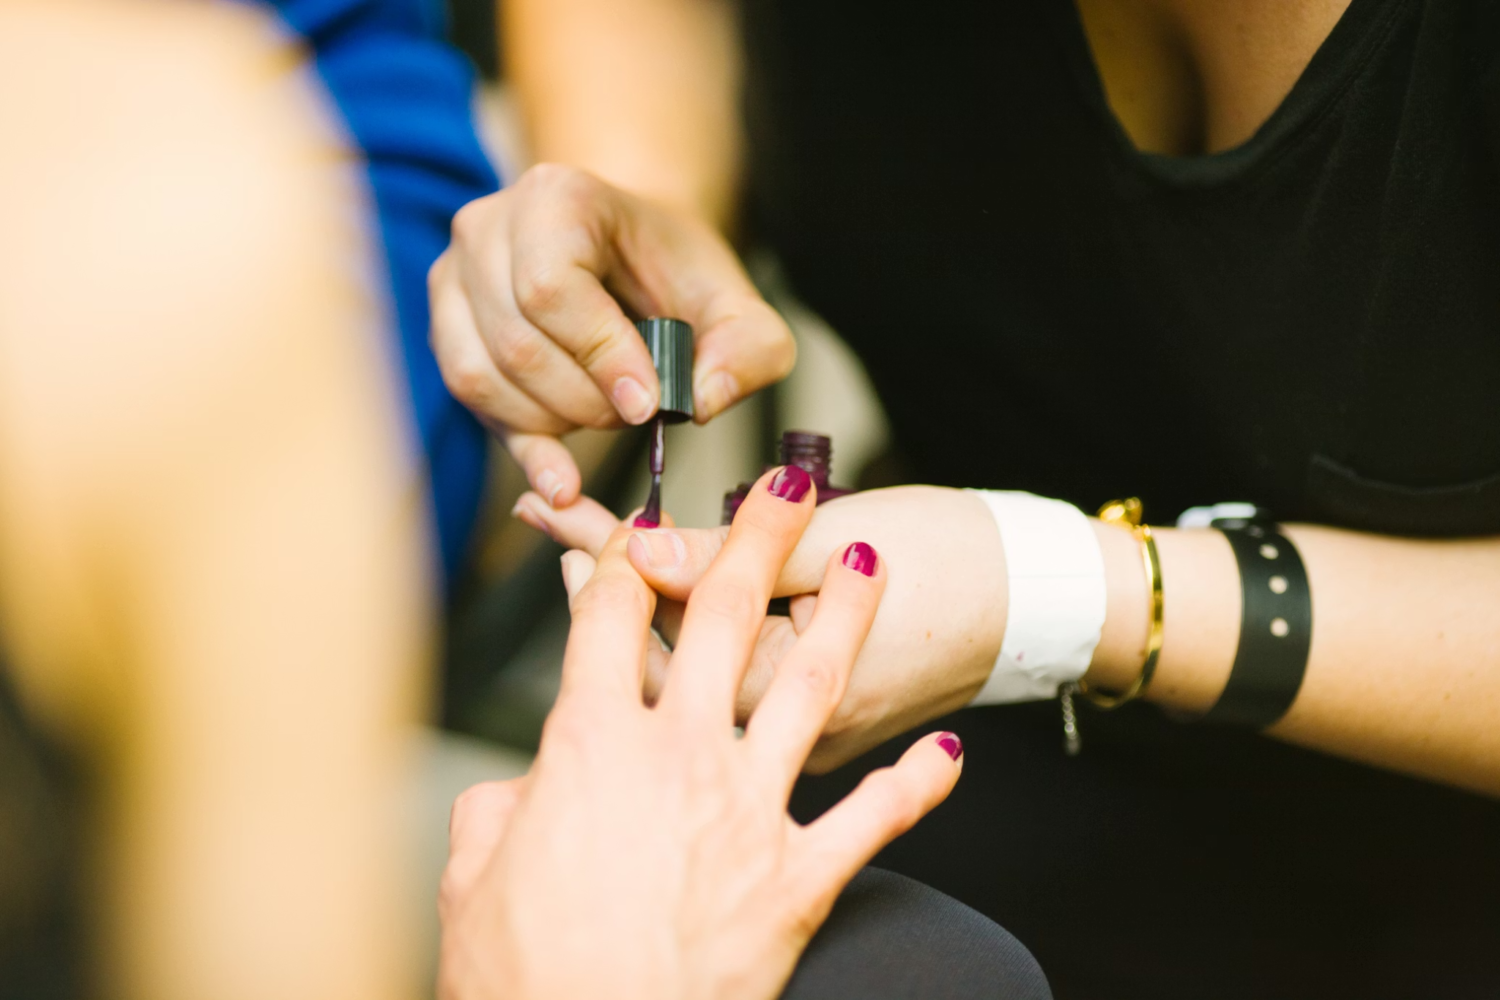
Picking a Polish That Works With Your Nails
Once your base coat is dry, you are ready for color. But the polish you choose matters more than most people realise.
Reading Formulas and Understanding What Is in Your Polish
Look for polishes that are free from harsh chemicals like formaldehyde, toluene, and DBP. These ingredients can dry out and weaken nails over time. A cleaner formula is not just better for your nail health; it also tends to apply more smoothly and last longer. The beauty industry has come a long way with clean nail formulas, and you do not have to sacrifice color payoff to make a healthier choice.
Matching Polish to Your Current Nail Condition
If your nails are dry or damaged, go for a polish with a more flexible formula rather than a rigid one. Rigid formulas tend to crack more easily on nails that are not at their strongest. Sheer or lighter shades are also more forgiving of uneven texture while your nails recover.
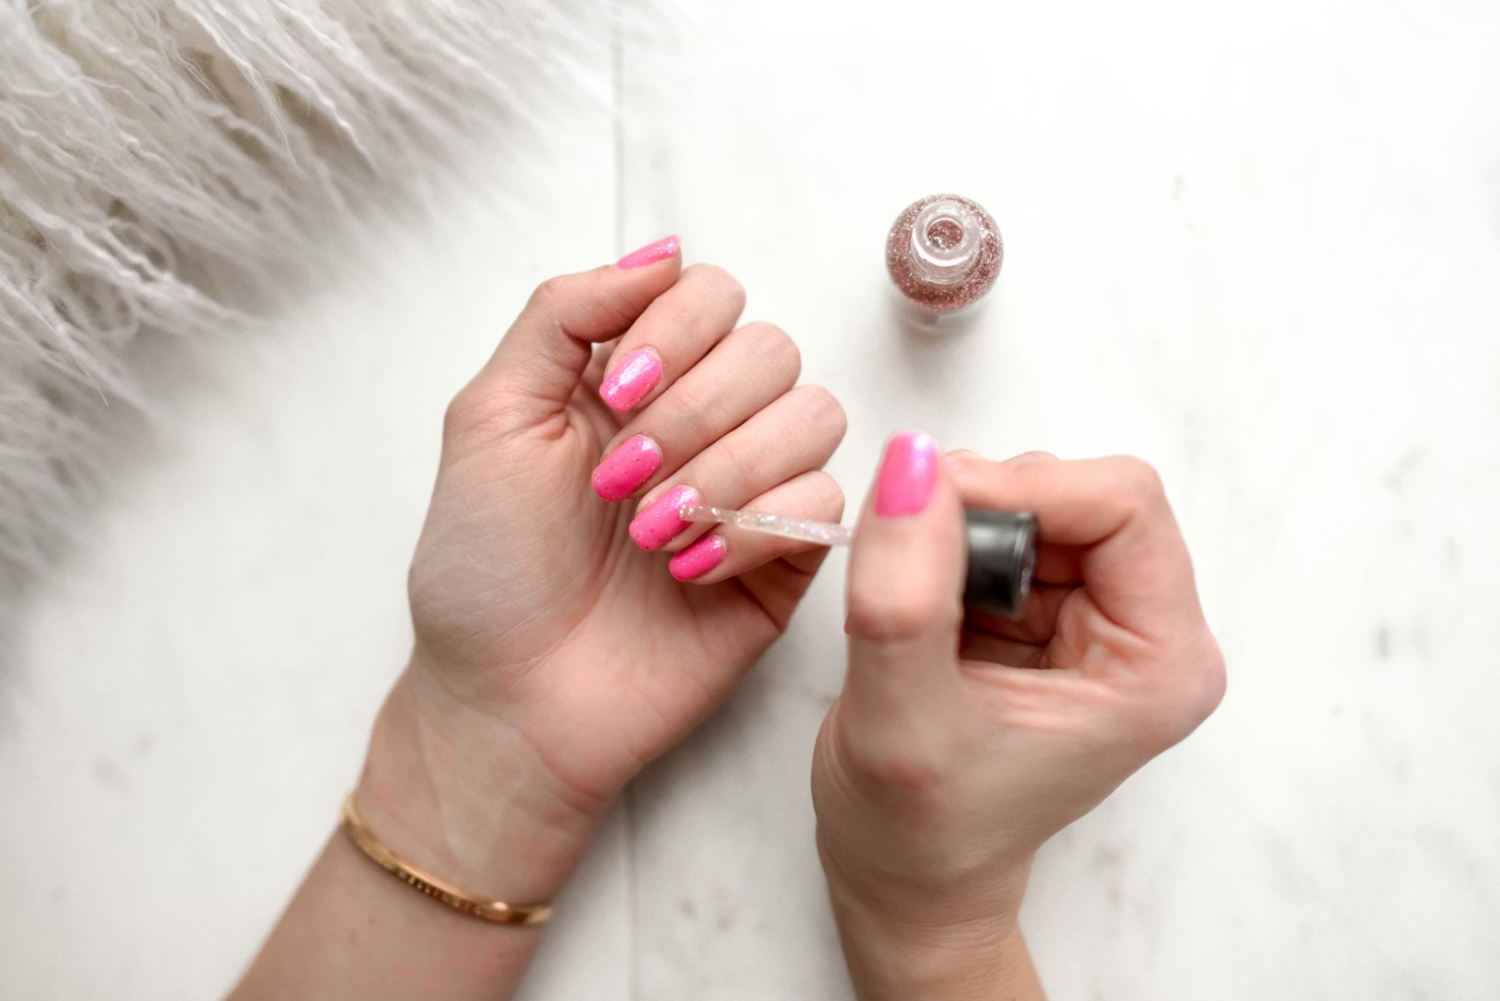
Application and Finishing Techniques Worth Knowing
How you apply the polish matters just as much as the products you use.
Applying in Thin, Even Layers
Two thin coats will always outperform one thick coat. Thick layers take longer to dry, are more prone to smudging, and tend to bubble. Apply your first coat, let it dry for at least two minutes, and then follow with the second. Three strokes per nail works well: one down the center and one on each side.
Capping the Tips and Sealing With a Top Coat
Run the brush across the very tip of each nail after your final color coat. This step, called capping, seals the edge and significantly reduces chipping. Follow with a top coat once your color is dry to the touch. A good top coat adds shine, protects the color, and extends the life of your manicure by several days.
Conclusion
A long-lasting manicure is really just the result of doing the small things right. Prep your nails properly, use the right base coat for your nail type, apply your polish in thin layers, and seal everything with a top coat. None of these steps is complicated, but together they make an enormous difference. Once you build this into a habit, you will notice your manicures lasting longer and your nails staying healthier between applications.
FAQs
Should you wash your hands before painting your nails?
Yes, always. Clean hands remove oils, lotion, and bacteria from the nail surface. Any residue left on the nail stops polish from bonding properly, which leads to faster chipping.
How long should you wait after applying a base coat before adding polish?
Wait at least one to two minutes. The base coat does not need to be fully hard, just dry to the touch. Applying polish too soon can cause the layers to mix and reduce overall adhesion.
Is a base coat necessary if you are using a high-quality nail polish?
Yes. Even premium polishes perform better over a base coat. The base coat is not just about grip, it also protects your nail from staining and creates a smoother surface for the color to sit on.
How often should you give your nails a break from polish?
Aim for a few days without polish every few weeks. This gives your nails time to breathe, rehydrate, and recover, especially if you use polish remover frequently. A nourishing nail treatment during this break can help restore strength and moisture.